Announcement

Collapse
No announcement yet.

Project Rockbronco67

Collapse
X
 
  • Filter
  • Time
  • Show
Clear All
new posts

  • #46
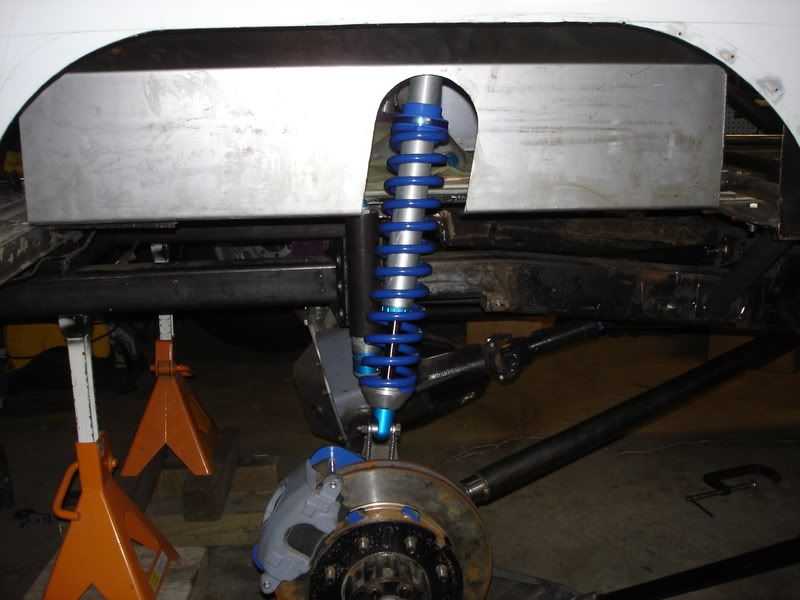
    RockBronco I really like the way you did the rear quaterpanels (inside the cab) I have been wondering if that would work but looks like your went very well. I also narrowed my wheel wells since I am running full width and was able to add a 48" seat in back.

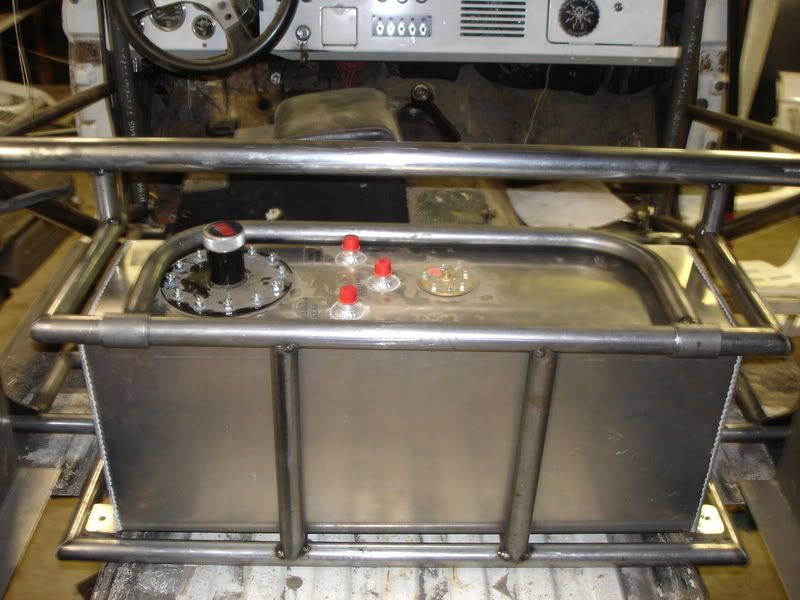
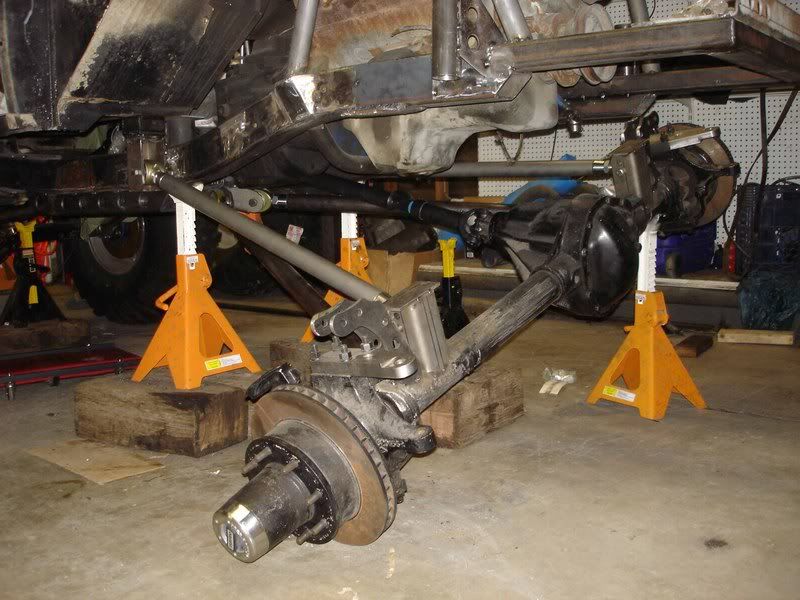
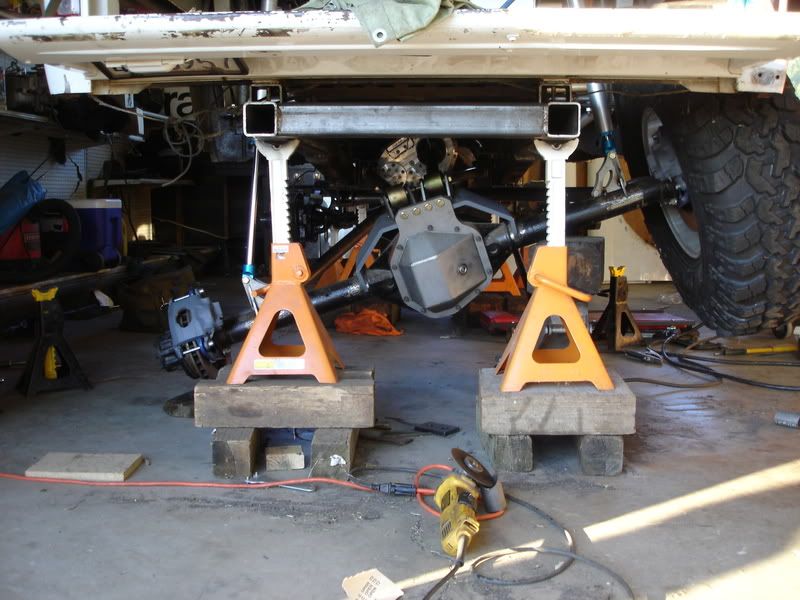
    How far back did you push the rear axle? Could you tell me how far from the back of the rear diff to the end of the body? I am trying to find out so could build a tank to still fit behind the axle like the EB currently does since I carry 5 people.

    Thanks FM <><
    72EB, one-ton fab project that will never end

    Be on your guard; stand firm in the faith; be men of courage; be strong. Do everything in love.
    1 Cor 16:13-14

    Comment


    • #47
      Familyman, I got a 4 foot level and put it vertical so it hits the bottom half of the tailgate. Then I measured straight across to the rear axle housing. It was 25". Let me know if you need me to explain it different. Hope this helps.

      Comment


      • #48
        Instead of cutting off the old spring hangers and cleaning up the frame, I decide to cut it and replace it. I was thinking about doing tube but I like the frame look. So I replaced it with 3"x3"x3/16". I am going to put plates on the inside of the frame across the welded area for strength.


        Comment


        • #49
          WOW looking good!
          I am jelous that you were able to get the front link mounts on the inside of the frame, but I guess thats the Stak, because mine were all over my driveshaft on my 3 link (Dana 20)
          Mark Harris
          71 Bronco, 9 inch, 60, c4, Stak 3 speed, and 42 inch balloons.

          Comment


          • #50
            I took out my bumps and filled in the holes.


            Here are the new brackets.

            Comment


            • #51
              I finally got back to my fuel cell cage. Later I want to build a rack over it so I don't lose any storage area.

              Comment


              • #52
                With my front axle moved foward, I needed to make room for the tires.


                Comment


                • #53
                  I sure am liking how this is turning out...
                  MORE PICS!
                  MORE PICS!

                  Comment


                  • #54
                    Thank you. I will be posting a lot more.

                    I had a perfectly good aluminum radiator but the ports were on the wrong side for the new engine. So I called Griffin and they had want I needed.

                    Comment


                    • #55
                      Here's a couple of flex pictures. You can notice that I lowered my front upper link frame bracket to make the arms more level. Also I built the frame out a little because I needed my shock hoops to come out a little. The header on the other side was in the way. You can see in the pictures that I got my new drivelines from Tom Woods. The super flex joints are nice. Tom Woods was very easy to work with, I would recommend them.


                      The rear flexed

                      Last edited by Rockbronco67; 07-03-2008, 10:53 AM.

                      Comment


                      • #56
                        Here are the new rear bump brackets. I would advice anyone doing a project like this to tack everything until the last moment. You always change things at least twice.

                        Last edited by Rockbronco67; 07-03-2008, 10:44 AM.

                        Comment


                        • #57
                          Making room for the coilovers.


                          Comment


                          • #58
                            . I would advice anyone doing a project like this to tack everything until the last moment. You always change things at least twice.
                            No lie. Looking very nice. In regards to the 25" from tailgate to axle housing. I was thinking more from tail gate to the most rearward part of the axle (edge of the diff cover) does that make more sense. Mine from the furthest point back on the diff cover to the tailgate is about 24" . Thanks for the help.

                            FM <><
                            72EB, one-ton fab project that will never end

                            Be on your guard; stand firm in the faith; be men of courage; be strong. Do everything in love.
                            1 Cor 16:13-14

                            Comment


                            • #59
                              I was wondering what I was going to do for brakes, so I called polyperformance. I told them that I wanted to run a cutting brake so I can do front digs or rear digs. I have no room to run anykind of vacuum boost or hydro boost. So they told me to run a CNC dual MC pedal assembly with a 2in-2out cutting brake. Also I am running a wilwood clutch MC with a CNC clutch pedal. I am not driving this on the street so I don't need really need power brakes but it would be nice. Hopefully it will work good enough to hold it.

                              Last edited by Rockbronco67; 07-07-2008, 08:14 AM.

                              Comment


                              • #60
                                Here is a before and after of the engine


                                Comment

                                Working...
                                X